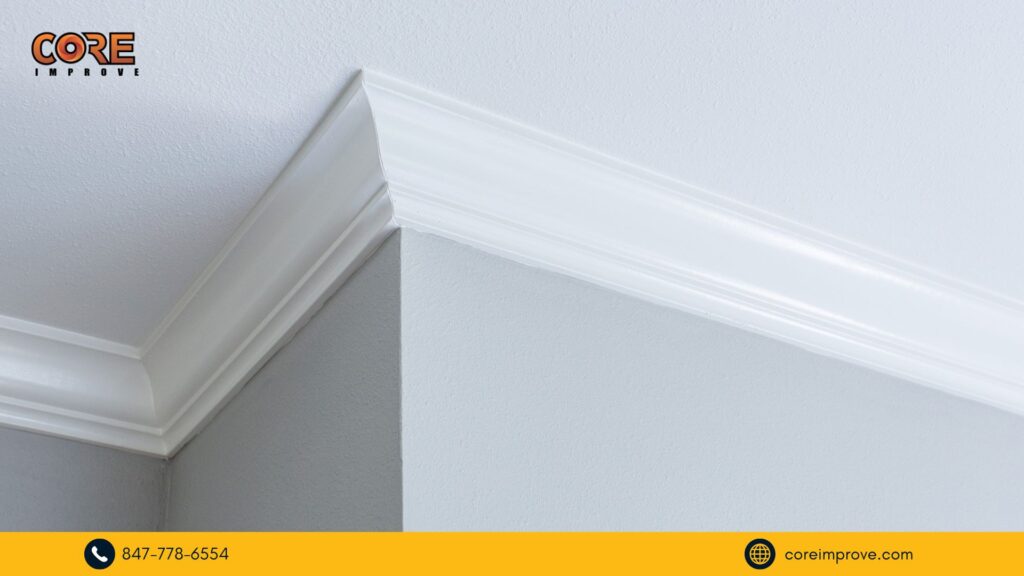
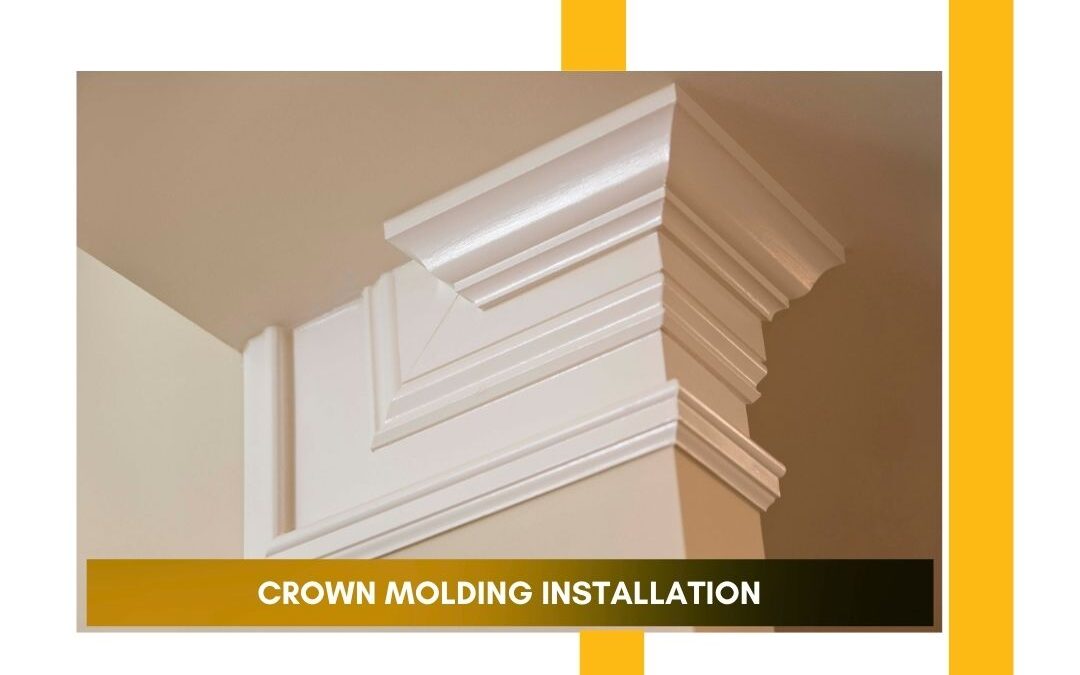
Crown molding is a timeless, elegant addition to any room that instantly enhances the aesthetic of your home. Whether you’re renovating a single room or doing a full remodel, crown molding installation is an affordable and stylish way to elevate your space. It creates a seamless transition between the walls and ceiling, adding a polished and finished look.
In this guide, we will walk you through the process of crown molding installation, including how to install, build up, and measure for crown molding. We will also cover when it may not be a good idea to install crown molding. Whether you’re a seasoned DIYer or planning to hire a professional, this article will help you understand everything you need to know.
How is Crown Moulding Installed?
The process of crown molding installation may seem daunting at first, but with the right tools and techniques, it can be a manageable project. Here’s a step-by-step overview of how it’s done:
- Prepare the Room:
Begin by clearing the room and covering the furniture to protect it from dust and debris. If you’re removing old molding, use a crowbar to carefully pry it off the walls. - Measure and Mark the Wall:
Start by measuring the length of the walls where the crown molding will be installed. Use a pencil to mark where the top edge of the molding will go, ensuring it’s level. This will guide your installation. - Cut the Molding:
Measure and cut the crown molding to fit the dimensions of the room. This step requires precise measurements to ensure the molding fits perfectly along the corners and walls. If you’re working with angled corners, you’ll need to cut the molding at the appropriate angle using a miter saw. - Apply Adhesive and Nail the Molding:
Once the molding is cut, apply adhesive to the back of the molding and press it against the wall where you’ve marked. Use finishing nails to secure it in place, making sure the nails are driven into the wall studs for maximum stability. - Fill in the Gaps:
After the molding is attached, use wood filler to fill in any gaps or nail holes. Once dry, sand the filled areas smooth. - Touch Up and Paint:
For a professional finish, touch up the crown molding with paint that matches the color of your room. This will give it a clean, seamless look.
Crown molding installation can be done in a day or two, depending on the room size and the complexity of the design. If you prefer a more intricate design, a professional may be necessary to ensure precise cutting and fitting.
Read more : Any tips before I do my first crown molding job this weekend?
How to Build Up Crown Molding?
Building up crown molding involves layering additional molding pieces or adding extra elements to create a more dramatic, custom look. This can be done in various ways depending on the style you’re aiming for. Here’s how you can build up crown molding:
- Stacking Molding Pieces:
One simple way to build up crown molding is by stacking multiple layers of molding. Start with a smaller crown molding at the top and add larger, more detailed pieces beneath it to create depth and visual interest. - Using Baseboard or Chair Rail Molding:
Another option is to use baseboard or chair rail molding as a base for your crown molding. By combining different types of trim, you can create a custom, built-up crown molding effect that adds sophistication to your room. - Adding Decorative Elements:
To make your crown molding stand out, consider adding decorative elements like rosettes, appliques, or corner blocks. These details can transform a standard crown molding into something truly unique.
Building up crown molding allows you to customize your design, making it as simple or as elaborate as you want. It’s an ideal option if you’re aiming for a more luxurious or high-end look in your home.

How to Measure for Crown Molding?
Proper measurement is crucial for successful crown molding installation. Here’s how to get the right measurements for your project:
- Measure the Room Dimensions:
Use a tape measure to measure the length of each wall where you will install the crown molding. Make sure to measure at several points to account for any irregularities in the wall. - Measure the Angle of the Corners:
Most rooms have 90-degree angles in the corners, but some may have slightly different angles. Use a protractor or angle finder to measure the exact angle of the corners to ensure that the crown molding fits perfectly. - Account for Extra Length:
When measuring, always add a few extra inches to each piece of molding to ensure you have enough length for cutting. It’s better to have too much than too little, especially when dealing with angled cuts. - Cutting the Molding:
Once you have your measurements, use a miter saw to cut the molding at the appropriate angles. For inside corners, you’ll need to cut the molding at a 45-degree angle, while outside corners will require a 45-degree angle in the opposite direction. - Fit the Pieces Together:
After cutting, dry-fit the pieces of molding along the wall to make sure they fit properly before attaching them. This will allow you to make any necessary adjustments before committing to the final installation.
Accurate measurements are essential for achieving a professional finish with crown molding installation. If you’re unsure about measuring or cutting, consider consulting with a professional to ensure the job is done right.
When Not to Install Crown Molding?
While crown molding is a great addition to many homes, there are situations where it might not be the best option. Here are some scenarios where crown molding installation might not be ideal:
- Low Ceilings:
If you have low ceilings, crown molding can make the space feel even smaller. In these cases, it might be better to opt for a simpler trim or leave the ceiling untouched to avoid making the room feel cramped. - Modern or Minimalist Styles:
Crown molding is a classic design feature, but it may not suit modern or minimalist interior styles. If you prefer clean lines and simple, sleek designs, crown molding may not be the right choice for your space. - Irregular Walls:
If your walls are severely out of plumb or have structural issues, crown molding installation can be more difficult. The molding needs to fit snugly against both the wall and the ceiling, and any imperfections may make it hard to achieve a seamless look. - Temporary Living Spaces:
If you’re renting or living in a temporary space, installing crown molding may not be worth the investment. It’s a more permanent design feature, and you may not be able to take it with you when you move. - Budget Constraints:
Installing crown molding can be expensive, especially if you’re hiring a professional. If your budget is tight, you might want to consider other ways to update your room, such as painting the walls or replacing furniture, before committing to crown molding.
Conclusion: Trust Core Improve for Expert Crown Molding Installation
Crown molding installation is a fantastic way to enhance the beauty and elegance of any room in your home. Whether you choose a simple design or a more elaborate, built-up style, crown molding can instantly elevate your space. If you’re looking for professional crown molding installation that guarantees high-quality results, trust the experts at Core Improve. Our team of skilled professionals will guide you through every step of the process, from choosing the right design to flawless installation. Visit Core Improve today to schedule your consultation and transform your home with beautiful crown molding.
FAQs
- How is crown molding installed?
Crown molding is installed by measuring the length of your walls, cutting the molding at precise angles, and attaching it to the wall and ceiling with adhesive and finishing nails. - How to build up crown molding?
You can build up crown molding by stacking different types of trim or adding decorative elements like rosettes and corner blocks for a custom look. - How to measure for crown molding?
Measure the length of the walls and the angle of the corners, adding a few extra inches to each piece for cutting. - When not to install crown molding?
Avoid installing crown molding in rooms with low ceilings, minimalist designs, or irregular walls that may not accommodate it well. - What type of crown molding should I choose?
The type of crown molding depends on your personal style, ceiling height, and room design. Professional crown molding installation can help you select the perfect style for your space.
Elevate your home with professional crown molding installation from Core Improve. Whether you’re going for classic elegance or a custom-built design, our skilled team delivers flawless results every time.
👉 Contact us today to schedule your free consultation and bring timeless beauty to your walls and ceilings.

